



The complete guide
How to Choose and Install a Wall Mounted Wine Bottle Rack
The problem with storing wine on the counter
Most people do not have a cellar. They have a counter, a cupboard, maybe the bottom shelf of a pantry, and a few bottles that migrate between all three. The bottles end up standing upright behind the kettle, getting shuffled every time someone needs a chopping board. Labels face the wrong way. The good bottle gets buried behind the cheap one. And the counter, which is the most useful surface in the house, loses another corner.
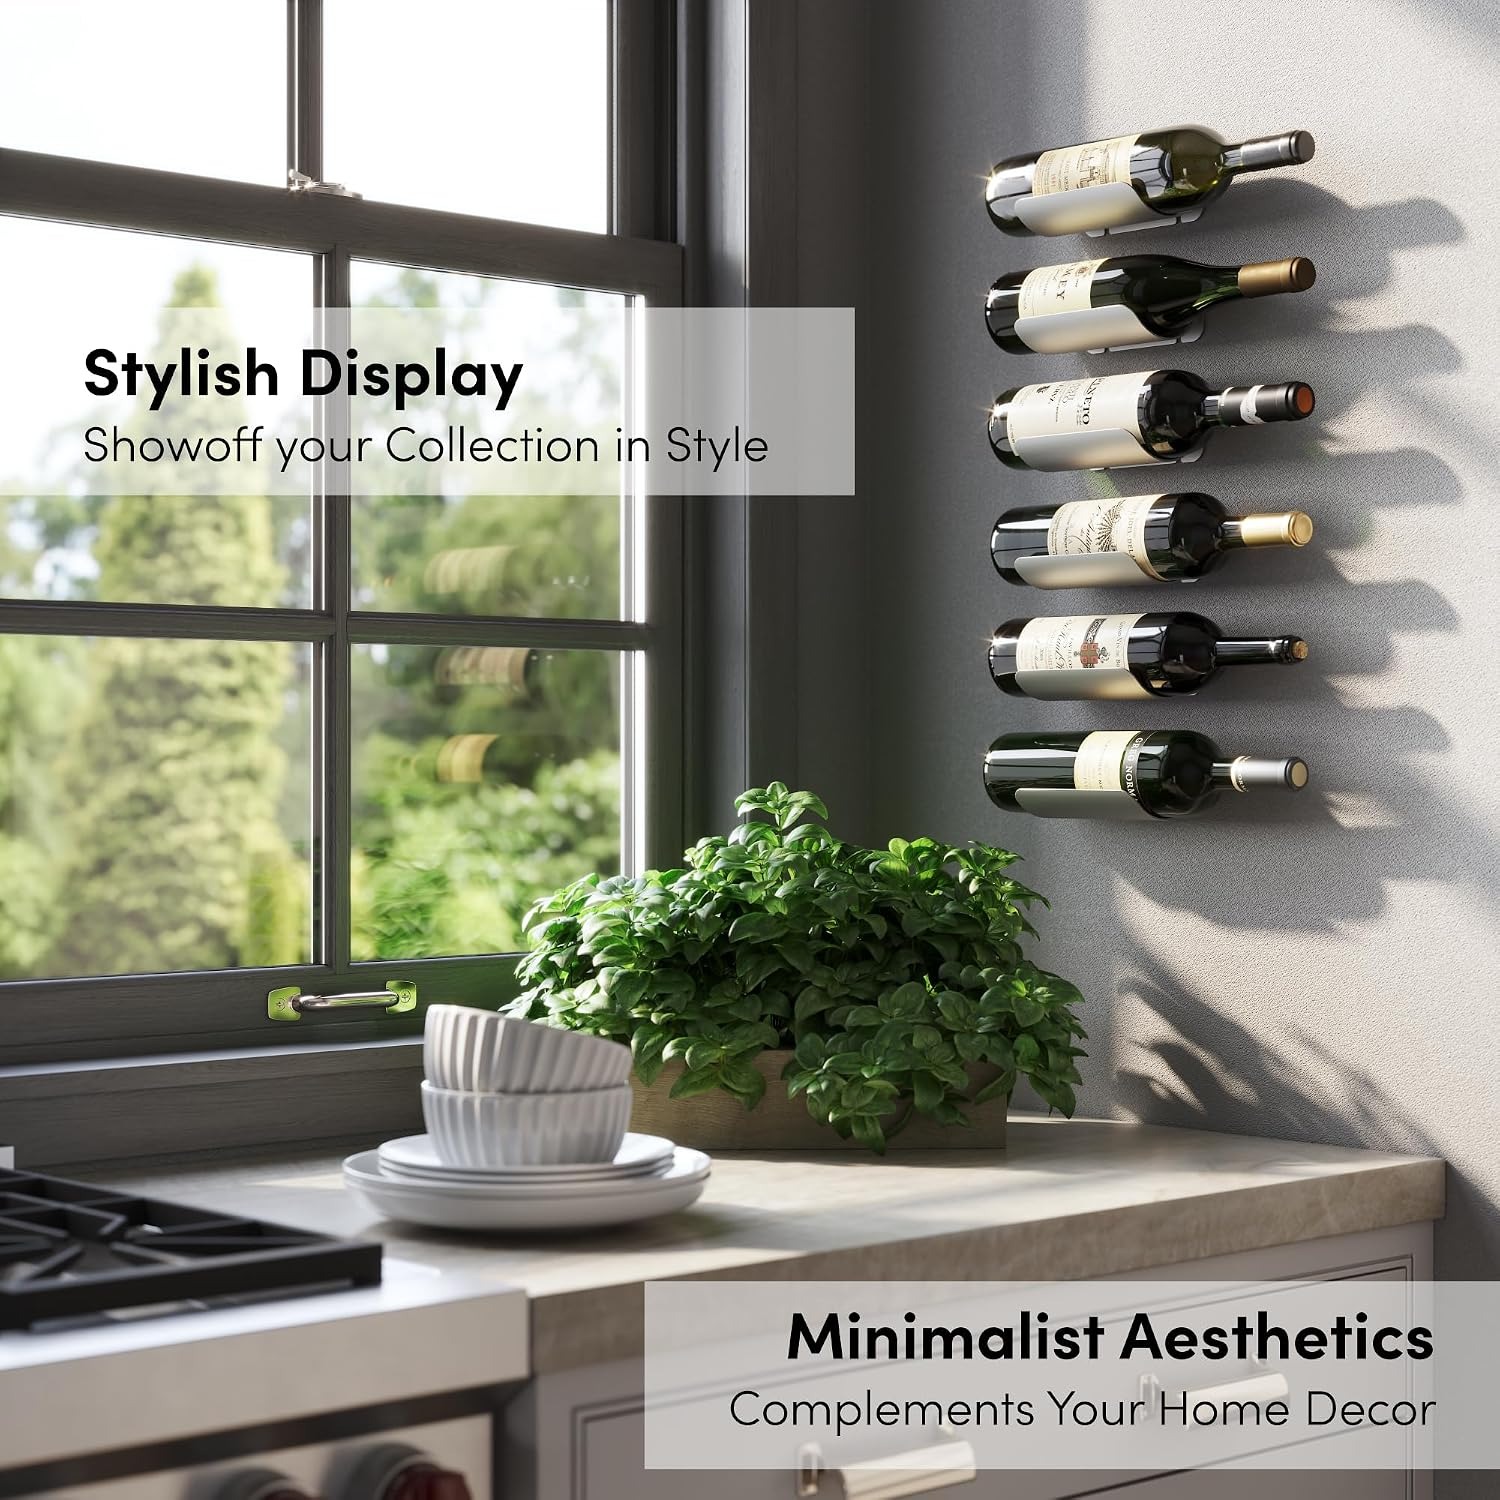
A wall mounted wine bottle rack fixes this by using the one surface that is almost always empty. Walls do nothing. They hold up the ceiling and that is about it. Put six bottles on a wall and you have freed the counter, protected the bottles from being knocked, and turned a functional problem into something that actually looks intentional.
How this rack works
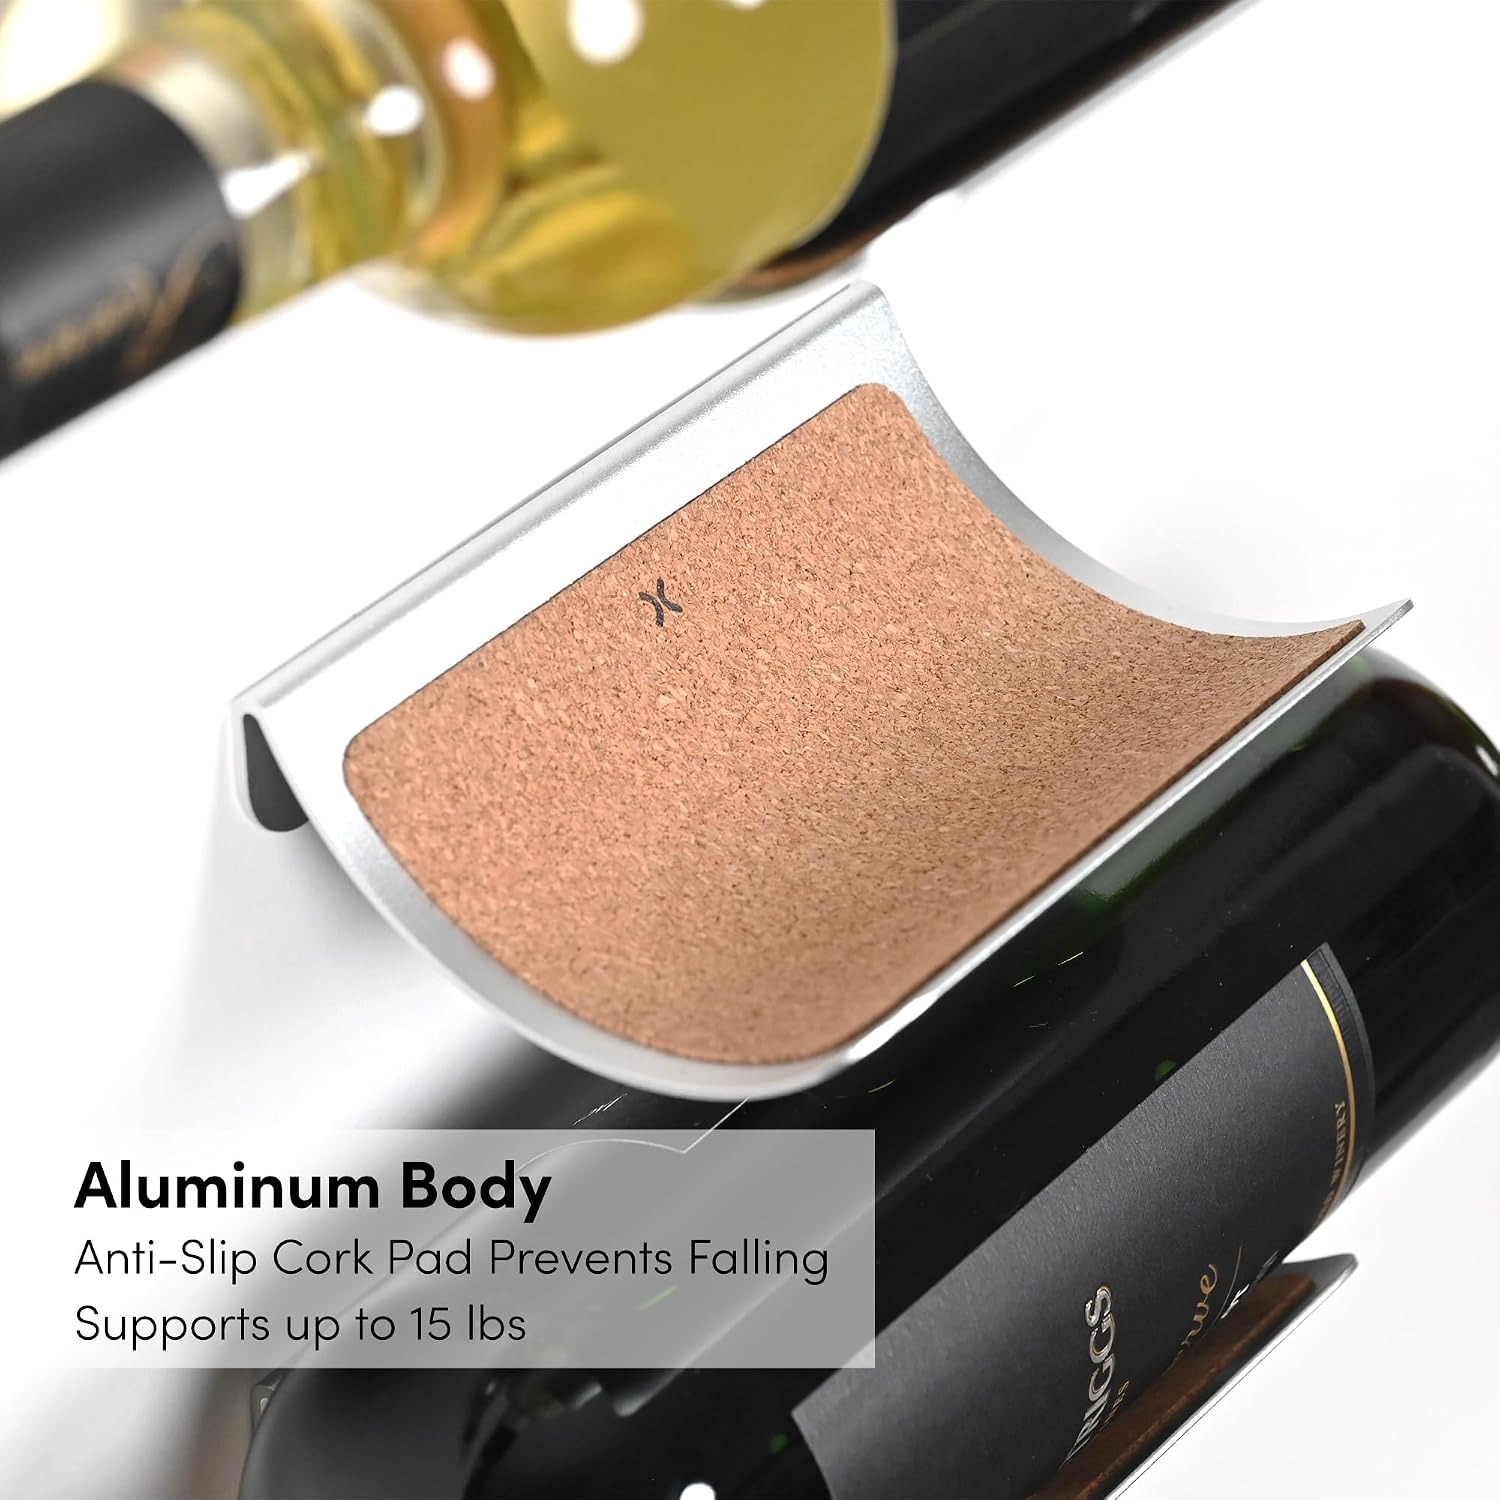
This set is six individual cradles rather than one wide frame. Each cradle is a small semicircular piece of aluminium that screws to the wall and holds one bottle lying on its side. The bottle rests in the curve, cork end out or label out depending on how you load it, and non-slip cork padding inside the cradle grips the glass.
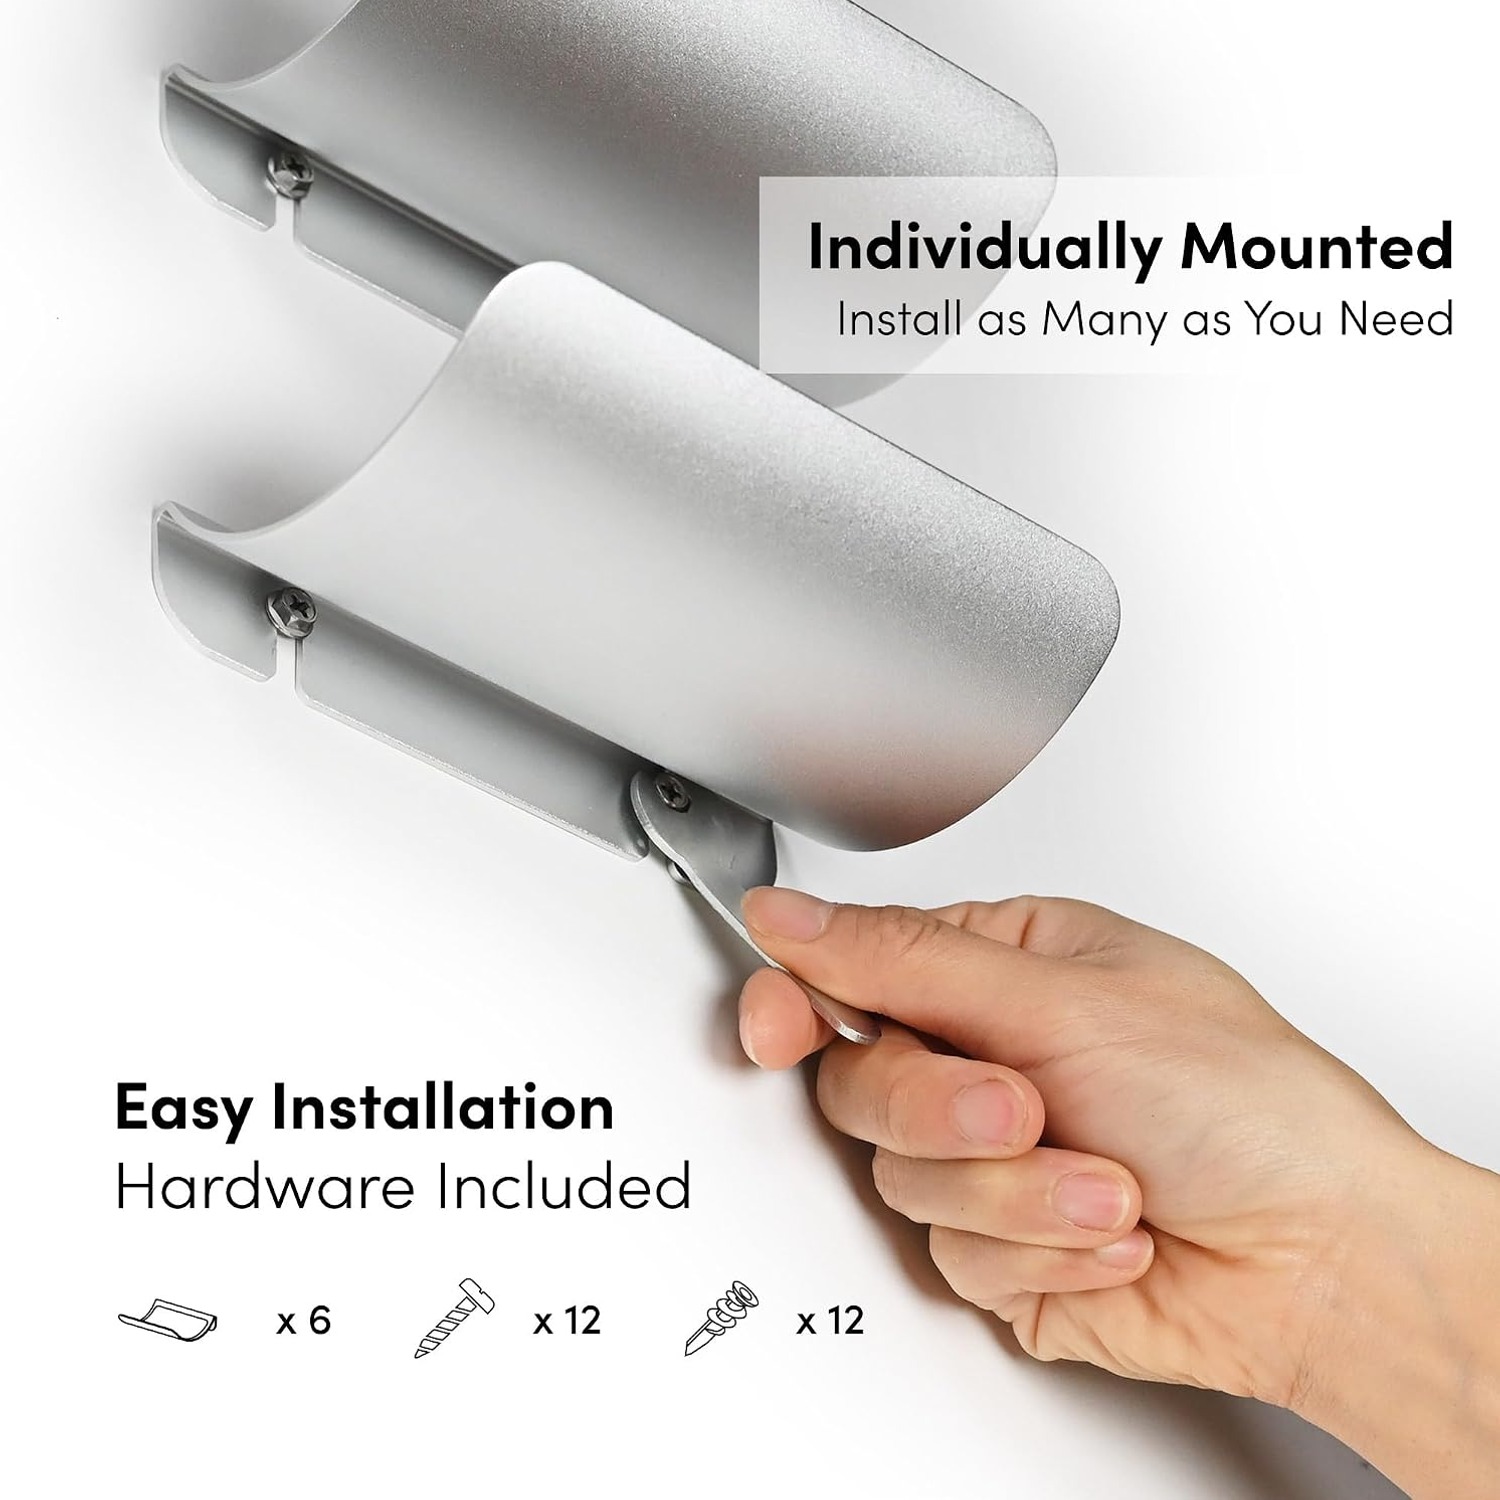
The separate-pieces approach is the part worth understanding. A one-piece rack arrives with its spacing already decided by someone who has never seen your kitchen. You either have a run of clear wall that matches it or you do not. Six independent cradles mean you decide. Want a tight row of six above a sideboard? Fine. Want three either side of a window? Also fine. Want a tall column in the dead space beside the fridge? That works too.
Each cradle measures 9.1 cm deep, 12.7 cm wide and 2.8 cm high, and weighs 68 grams. Those numbers tell you something useful. The rack is small and light, so almost all the load on your wall fixing is the bottle itself, not the hardware.
The materials, plainly
The cradles are aluminium with an anodised finish in silver. Anodising is a treatment that changes the surface of the metal rather than sitting on top of it like paint, which is why anodised pieces tend to keep a consistent look rather than chipping. Visually it reads as a clean, modern, slightly satin silver. It sits comfortably with stainless appliances, white cabinetry, timber shelving or exposed brick.
The cork padding is where the design gets practical. Bare metal against a glass bottle is a bad combination. It is slippery and it scuffs. Cork grips, and it is soft enough that the bottle is not grinding against anything hard. It also means the rack handles any cylindrical bottle of roughly standard size, so your olive oil can live up there alongside the shiraz if you want.
Who this suits
It suits anyone with more bottles than space and a wall they are allowed to drill. Small kitchens benefit most, because vertical storage is the only kind they have spare. Apartment dwellers, people setting up a home bar nook, anyone whose dining room has a bare stretch of wall doing nothing.
It also suits people who want a modern wine display rather than a storage system. Six bottles with their labels facing out is a nice thing to look at. It is restrained. Nobody mistakes it for a cellar, which is exactly right if you are the sort of person who keeps four or five good bottles on rotation.
It does not suit renters who cannot drill, or anyone wanting to store thirty bottles. For a big collection, use a set like this for the bottles you want on show and keep the bulk somewhere dark and cool.
Choosing where to put it
Three things matter: wall type, light, and heat.
Wall type decides your fixings. Plasterboard works with the supplied drywall anchors. A timber stud is stronger again and worth finding if you can. Masonry, brick and tile all need the correct drill bit and a plug suited to that material, and those are not included, so pick them up when you buy your drill bit.
Light matters because sunlight is hard on wine. A wall that gets afternoon sun will cook your bottles over a few months. Pick an interior wall, a shaded corner or a hallway instead.
Heat is the same story. Do not mount this above a cooktop, next to an oven, or on the warm side of a fridge. A stable, cool spot is kinder to the wine and to the cork.
One more consideration: head height. Bottles sticking out of a wall at forehead level in a narrow hallway will eventually be walked into. Mount above or below the line people move through.
Planning the layout before you drill
This is the step people skip and regret. Before any hole gets made, lay your bottles out on the floor in the pattern you want and measure the gaps. You need enough space between positions that bottles do not clink and that you can lift one out without disturbing the next. A hand's width between bottle centres is a reasonable starting point for most layouts.
Then mark the wall. Use a pencil and a spirit level, or a long straight edge and a level app if that is what you have. Mark every fixing point before drilling any of them, then stand back and look. A row that is one centimetre out at the end is obvious once the bottles are in, and much harder to fix afterwards.
If you are doing a column, check that the neck of each bottle clears the bottle below. Bottle lengths vary a little between producers, so measure your tallest one.
Installation, step by step
Gather a drill, the right bit for your wall, a pencil, a level and the supplied hardware. Mark your points. Drill. Insert the drywall anchors if you are in drywall. Assemble each cradle according to the included instructions, then screw it into place and tighten with the supplied wrench.
Load one bottle first and check it sits level and secure before loading the rest. If a cradle feels loose, take it off and move the fixing rather than hoping it settles. It will not settle.
Give the fixings a check every few months, especially for the first year. Anything that gets bottles taken in and out regularly is worth a quick tighten now and then.
Care and upkeep
Cleaning is a wipe with a soft, damp cloth, then dry it off. That is genuinely all. Silver surfaces show fingerprints and water spots, so drying matters more than scrubbing. Avoid abrasive pads, scouring powder and bleach sprays, which can dull an anodised surface over time.
The cork wants to stay dry. Brush dust off with a dry cloth rather than soaking it. If a bottle drips, wipe it up rather than letting it sit in the padding.
The short version
Six separate aluminium cradles, silver anodised, cork lined, each holding one bottle horizontally. Small footprint at 9.1 by 12.7 by 2.8 cm and very light at 68 grams per piece. Anchors, screws and a wrench are in the box, and assembly and drilling are required.
The value is in the flexibility. Because the pieces mount independently, you design the layout to fit your wall rather than squeezing your wall around someone else's frame. Spend the extra ten minutes marking out before you drill, pick a cool spot out of direct sun, and you will end up with a tidy wall mounted wine rack that clears your counter and shows the labels properly.